
Getting started with indoor riding: a winter guide
Winter has hit Melbourne, the mornings are dark, and a lot of us are quietly swapping the road for the shed. Indoor riding is the obvious answer, but the setup advice online tends to come from people selling trainers, not from people who spend their days fixing the aches that riders bring in.
So here is a getting started guide from a fit and physio point of view. What you actually need, what is worth the money, how to train once you are set up, and the part most guides skip: how to keep your body happy while you do it.
Indoor riding is its own discipline
The first thing to understand is that riding inside is not just riding outside with the scenery removed. It is mechanically different, and that difference is the reason people get sore.
Outdoors you freewheel constantly. Every descent, every corner, every easy moment off the pedals gives your contact points a break and lets your position shift. Indoors you do almost none of that. You pedal continuously, you hold one position for the whole session, and the load on your saddle, hands and feet is close to constant. Add the heat that builds with no breeze, and a short indoor effort can feel harder on the body than a much longer ride outside.
None of that is a reason to avoid it. It just means comfort and setup matter more inside than out, and that a niggle on the trainer is worth listening to rather than pushing through.
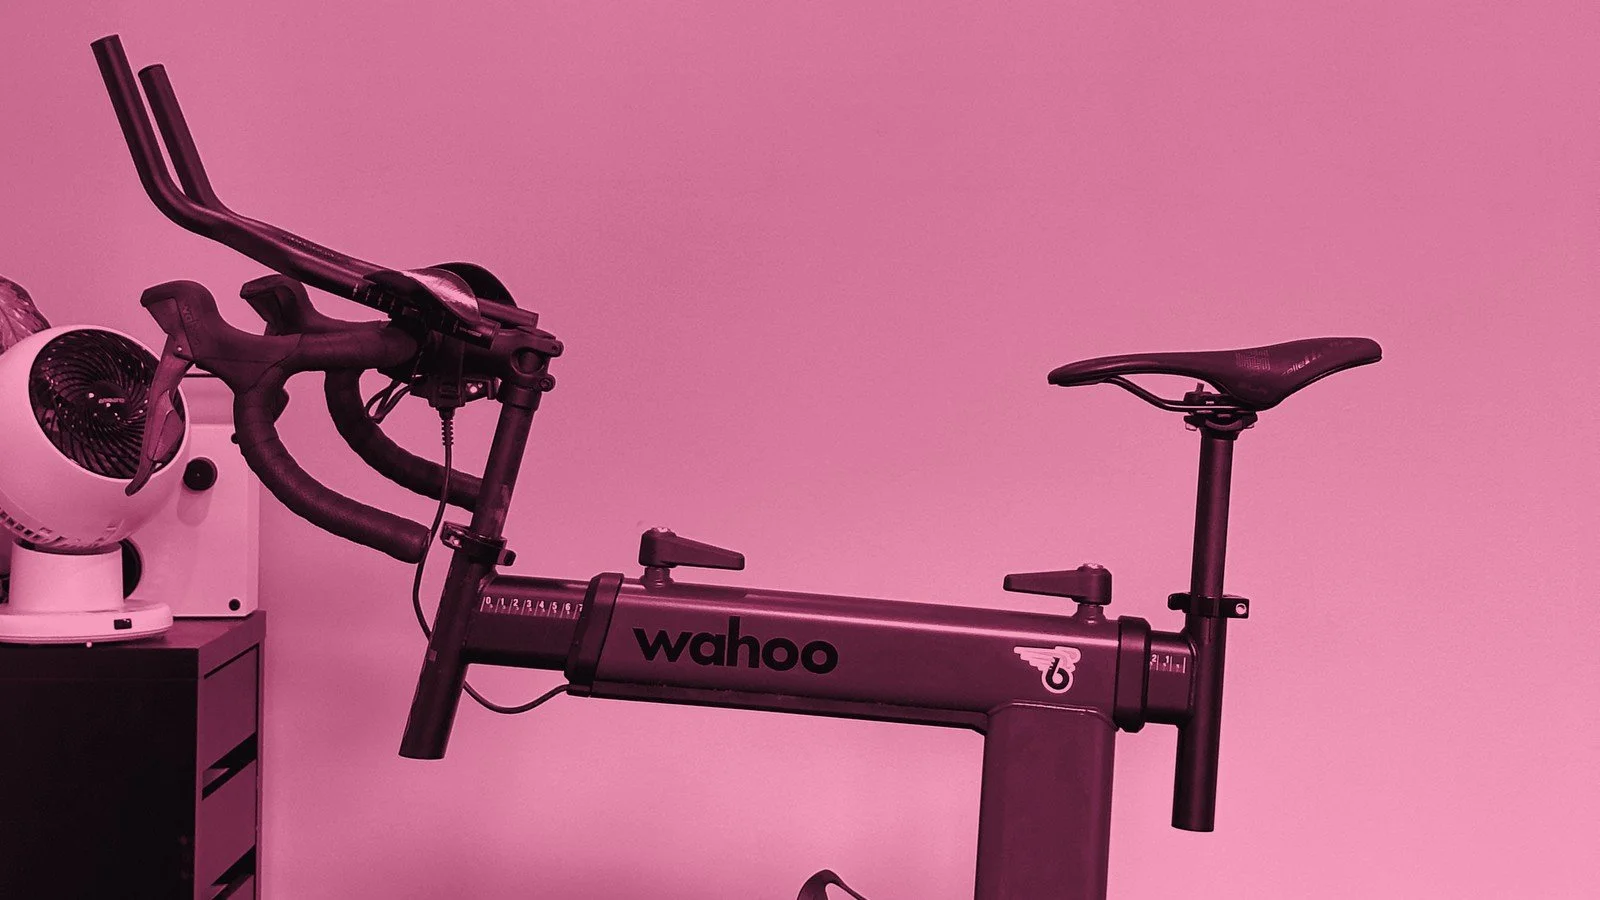
The gear, in three tiers
You can spend a little or a lot. Here is how I would think about it.
Bare essentials. Enough to start turning the pedals today:
Your bike
A trainer. A basic wheel-on turbo is the cheapest way in. A direct-drive smart trainer is the upgrade.
A front wheel block to keep the bike level
A towel, and a spot you do not mind sweating in
A water bottle
Worth it. The things that turn a sweaty chore into something you will actually repeat:
A fan. In practice this is close to essential, not a luxury, and I will come back to why. A device running a training app, on a phone, tablet, laptop or Apple TV
A smart trainer with controllable resistance, so the app can drive the effort for you A heart rate strap
A sweat mat and a bar towel
Electrolytes and a second bottle
Luxuries. Lovely, but not needed:
A dedicated pain cave with a big screen
A high-end direct-drive trainer or an all-in-one smart bike
A rocker or motion plate, which adds comfort and takes some of the fixed pressure off your contact points
A smart headwind fan, a power meter, speakers, a second bike left permanently set up
On the fan: cooling is genuinely the most underrated buy. Research on indoor cycling found that fan cooling raised the work riders could do without increasing how hard it felt [1]. It is a small spend that changes the whole experience, so I would bring it forward from the nice to have list and treat it as a near essential.
The software
Most people run one of the popular platforms: Zwift, MyWhoosh (free), TrainerRoad, Rouvy, Wahoo SYSTM, Garmin Tacx Training, or TrainingPeaks Virtual. They run on a phone, tablet, laptop or Apple TV.
Broadly, some apps are built around virtual worlds and group rides, and others around structured plans. There is no need to choose just one. Plenty of riders use a fun app to stay motivated and a structured app for the actual work.
How to actually ride
There are three ways to spend your time on the trainer, and most people benefit from a mix.
Free rides. Just ride. Explore the virtual worlds, jump into a group ride, no targets. This is the best way to build the habit, stay social and keep it enjoyable. If you are new to indoor riding, start here.
Structured training. Pre-set workouts built around intervals. In ERG mode the trainer holds the power for you, so all you have to do is pedal. This suits indoors perfectly, because there is no coasting and every minute counts, and the evidence is clear that interval training produces meaningful fitness and performance gains in trained cyclists [2].
FTP tests. A benchmark effort used to set your training zones and track progress over time. You do not need to suffer through one often. Test, train for a block, then retest every six to eight weeks.
Which FTP test should you do?
This is where people get stuck, so it is worth a closer look. There are three common options.
A ramp test lifts the resistance steadily until you cannot hold on, then estimates your FTP from your final minute, usually around seventy-five percent of it. It is the easiest to pace and the most repeatable, which is exactly why it suits beginners. Its weakness is that it can read a little high for riders with a strong anaerobic kick.
A twenty-minute test is a hard, evenly paced effort, and you take ninety-five percent of your average power. It is more representative for most riders, and it is reliable when done under the same conditions each time [3][4]. The catch is that it takes some pacing skill, so it is better once you have a few sessions under your belt.
A full sixty-minute test is an hour at your true sustainable maximum. By definition it is the closest to real FTP, but it is brutal and rarely necessary.
The honest summary is that longer efforts sit closer to your true hour power, but they are harder to pace and repeat, and no field test is perfect. The critical power and twenty-minute approaches do not always agree exactly, which is a good reminder to treat any FTP as an estimate rather than gospel [5].
Whatever you use, sense-check the number. A good FTP feels sustainable for roughly an hour, lets you speak only in short sentences, and lines up with a hard solo effort or a long climb. Test the same way each time, indoors or out, and if your zones feel wildly off, retest.
A simple way to start
Weeks one to three: free rides, to build the habit and get comfortable.
Then a ramp test, to set your zones the easy way.
Add one or two structured sessions per week.
Keep some free or social rides in the mix for enjoyment.
Build the load gradually. Indoor sessions are intense, and your tissues still need time to adapt to a new pattern of work.
The part most guides skip: fit, load and your body
Here is the bit that matters most from where I sit. Because indoor riding amplifies everything, it is the fastest way to expose a fit that is slightly off. You never change position and you never stop pedalling, so a saddle that is a touch too high, cleats that are a fraction out, or a reach that is a little long will show up as numbness, saddle discomfort or knee pain far sooner than it would on the road.
That discomfort is a signal, not a rite of passage. It is worth addressing rather than training through.
It is also worth remembering that fit is rarely the whole story. Pain on the bike is usually a combination of how you are set up, how much you are doing, and how ready your tissues are for that load. A perfect position will still cause grief if you jump from two easy outdoor rides a week to five hard turbo sessions overnight. So get the setup right, then build the load sensibly, and let your body catch up.
Get those two things working together and indoor season stops being something to survive and becomes the part of the year your riding quietly improves.
If pain is holding you back indoors, send us an enquiry or come in for a fit.
Gianni · Breakaway Physio
References
Fan cooling and submaximal exercise capacity. Res Q Exerc Sport, 2023. doi:10.1080/02701367.2021.1946467
Norte et al. Interval training in trained cyclists (meta-analysis). Int J Strength Cond, 2024. doi:10.47206/ijsc.v4i1.271
Borszcz et al. FTP validity. Int J Sports Med, 2018.
Borszcz et al. FTP reliability. Int J Sports Med, 2020.
Critical power vs 20-min FTP test. Front Physiol, 2021. PMC7862708